
Feeling awkward during a first photoshoot is completely normal. Most new models think the camera will magically tell them what to do, then suddenly realize they have hands, shoulders, knees, a face, and no idea where any of them should go. That moment can feel embarrassing, but it is not a sign that you are bad at modeling. It is a sign that posing is a skill.
The good news is that beginner posing does not have to be dramatic. You do not need to memorize twenty complicated poses. You need a few simple habits that help your body look more natural, give your hands something to do, and make small changes from one frame to the next.
This guide is for beginner models, creators, and anyone preparing for a first portrait session. Use it before the shoot, practice it in a mirror, and keep the ideas simple enough that you can remember them when the camera is in front of you.
Start With Posture, Not Poses
Before you think about angles or expressions, start with posture. Stand tall without becoming stiff. Let your shoulders drop. Keep your chest open. Lengthen through the top of your head. Shift your weight slightly onto one leg instead of locking both knees.
Good posture gives the photographer a strong starting point. It also helps you feel more grounded. When your body is collapsed or tense, every pose can feel harder. When your posture is active but relaxed, small changes look more intentional.
A simple reset is to breathe in, roll your shoulders up, move them back, let them drop, and soften your jaw. This takes only a few seconds, but it can change the energy of the photo.
Give Your Hands A Job
Hands are often the hardest part for beginners. The trick is to stop asking, “Where should my hands go?” and start asking, “What small job can my hands do?”
Your hands can lightly touch a jacket, hold sunglasses, adjust a sleeve, rest in pockets, touch your hair, hold a coffee cup, touch a necklace, hold the edge of a chair, or rest gently at your waist. The key word is lightly. Tight gripping can make the whole image feel tense.
If both hands feel awkward, use one hand first. Put one thumb in a pocket, hold the edge of a blazer, or let one hand rest against the body while the other stays relaxed. Once one hand has a job, the rest of the pose usually feels easier.
Use Small Angle Changes
Many beginner models try to switch from one completely different pose to another. That can make the session feel jumpy. Instead, learn to make small changes. Turn your chin slightly. Shift your weight. Move one shoulder closer to the camera. Change your hand position. Look away, then back. Step one foot forward.
Small angle changes give the photographer variety without forcing you to invent a new pose every few seconds. They also help you learn what works for your face and body. Sometimes the difference between an awkward frame and a strong frame is a two-inch chin shift or a softer bend in one knee.
Practice this at home by standing in front of a mirror and making only one change at a time. Notice how each adjustment changes the overall feeling.
Keep Movement Gentle
Movement can make posing feel less frozen. Try walking slowly toward the camera, turning away and looking back, adjusting a jacket, brushing hair away from your face, sitting down, standing up, leaning against a wall, or crossing one foot in front of the other.
The movement does not need to be big. In fact, small movement often photographs better because the photographer can catch natural transitions. If you are walking, slow down. If you are turning, pause halfway. If you are adjusting a sleeve, hold the action for a second.
Think of movement as a way to create options. You are not trying to perform. You are giving the camera little moments to catch.
Practice Sitting Poses
Sitting can feel comfortable in real life but awkward in photos if you collapse into the chair. When sitting, move toward the front edge of the seat, lengthen your posture, and create space between your arms and body. Place feet intentionally instead of letting them disappear under the chair.
Try resting one elbow on a knee, crossing ankles, turning slightly sideways, leaning forward with a straight back, or placing one hand on the chair. Keep your neck long and avoid pushing your chin too far forward.
If a seated pose feels stiff, add a small action. Look down at your hands. Adjust a sleeve. Turn toward the light. Laugh at something off camera. Small actions make seated poses feel less staged.
Use Your Face In Layers
Expression is more than smiling or not smiling. Try layers: soft eyes, relaxed mouth, tiny smile, bigger smile, serious look, looking away, looking down, looking past the camera, and then looking directly into the lens.
One helpful trick is to exhale before the shot. Holding your breath can make your face tense. A small exhale relaxes your mouth, jaw, and eyes. If your smile feels forced, look away first, smile at something real or silly, then turn back toward the camera.
Do not judge every expression while you are shooting. That makes the face tighter. Give the photographer options and review later.
Talk To The Photographer
A good beginner photoshoot should include direction. You can ask the photographer for feedback in a simple way. Try: “Can you tell me if my hands look stiff?” or “Do you want my chin higher or lower?” or “Should I turn toward the light?”
These questions show that you are engaged, not helpless. They also help the photographer guide you more clearly. If a direction is confusing, ask for a quick demonstration. Many photographers can show the angle faster than they can explain it.
Communication matters for comfort too. If a pose feels painful, unstable, or too revealing, say so. Confidence is easier when your boundaries are respected.
Build A Tiny Pose Flow
Instead of memorizing many poses, build one simple flow. Stand tall. Shift weight to one hip. Put one hand in a pocket. Turn chin slightly left. Look away. Look back. Touch jacket. Step one foot forward. Smile softly. Relax mouth. Sit on a chair. Lean forward. Stand again.
That tiny flow can create many frames. It also gives you something to return to if your mind goes blank. A repeatable flow is especially helpful for beginners because it reduces panic. You are not starting from zero every time.
Free Pose Practice Sheet
A helpful freebie for this post is a seven-day beginner pose practice sheet. Each day can focus on one small skill: posture, hands, chin angles, standing poses, sitting poses, movement, and expression. Keep it low pressure. Five minutes a day is enough to make shoot day feel less unfamiliar.
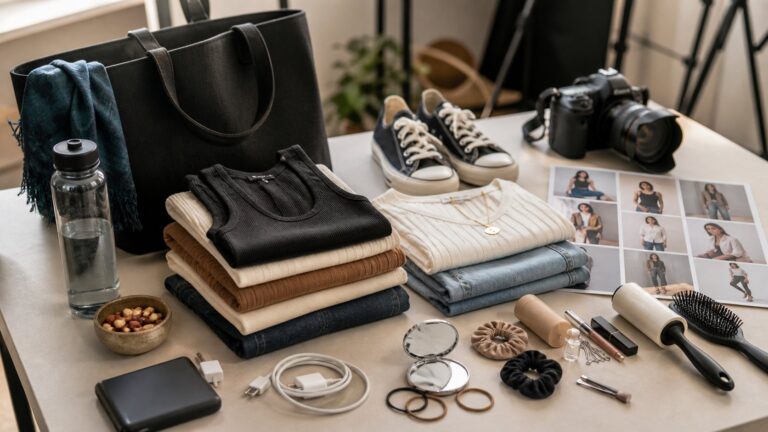
You can pair the practice sheet with a wardrobe list from the beginner photoshoot wardrobe checklist. When clothes and poses are planned together, the session feels less like a test and more like a prepared creative appointment.
Helpful Next Step
If your first shoot is coming up, read the Beginner Model Photoshoot Checklist and pack a few outfits that let you move. The more prepared you are before you arrive, the easier it is to relax into the posing.
Awkwardness is not failure. It is the beginning of learning how your body works on camera. Start small, keep moving, ask for direction, and let the first shoot teach you.
Related Reading
Helpful Sources
A Simple Way To Use This This Week
If this topic feels useful but a little big, keep the first step small. Pick one idea from this guide, write it on a sticky note, and try it once before you add anything else. A small repeatable action is easier to keep than a perfect plan. You can always come back later, add a printable page, choose a matching book, or build a longer routine once the first step already feels comfortable.
The goal is not to make posing tips for beginner models who feel awkward complicated. The goal is to make the next step clear enough that you can actually start today.
What To Practice The Night Before
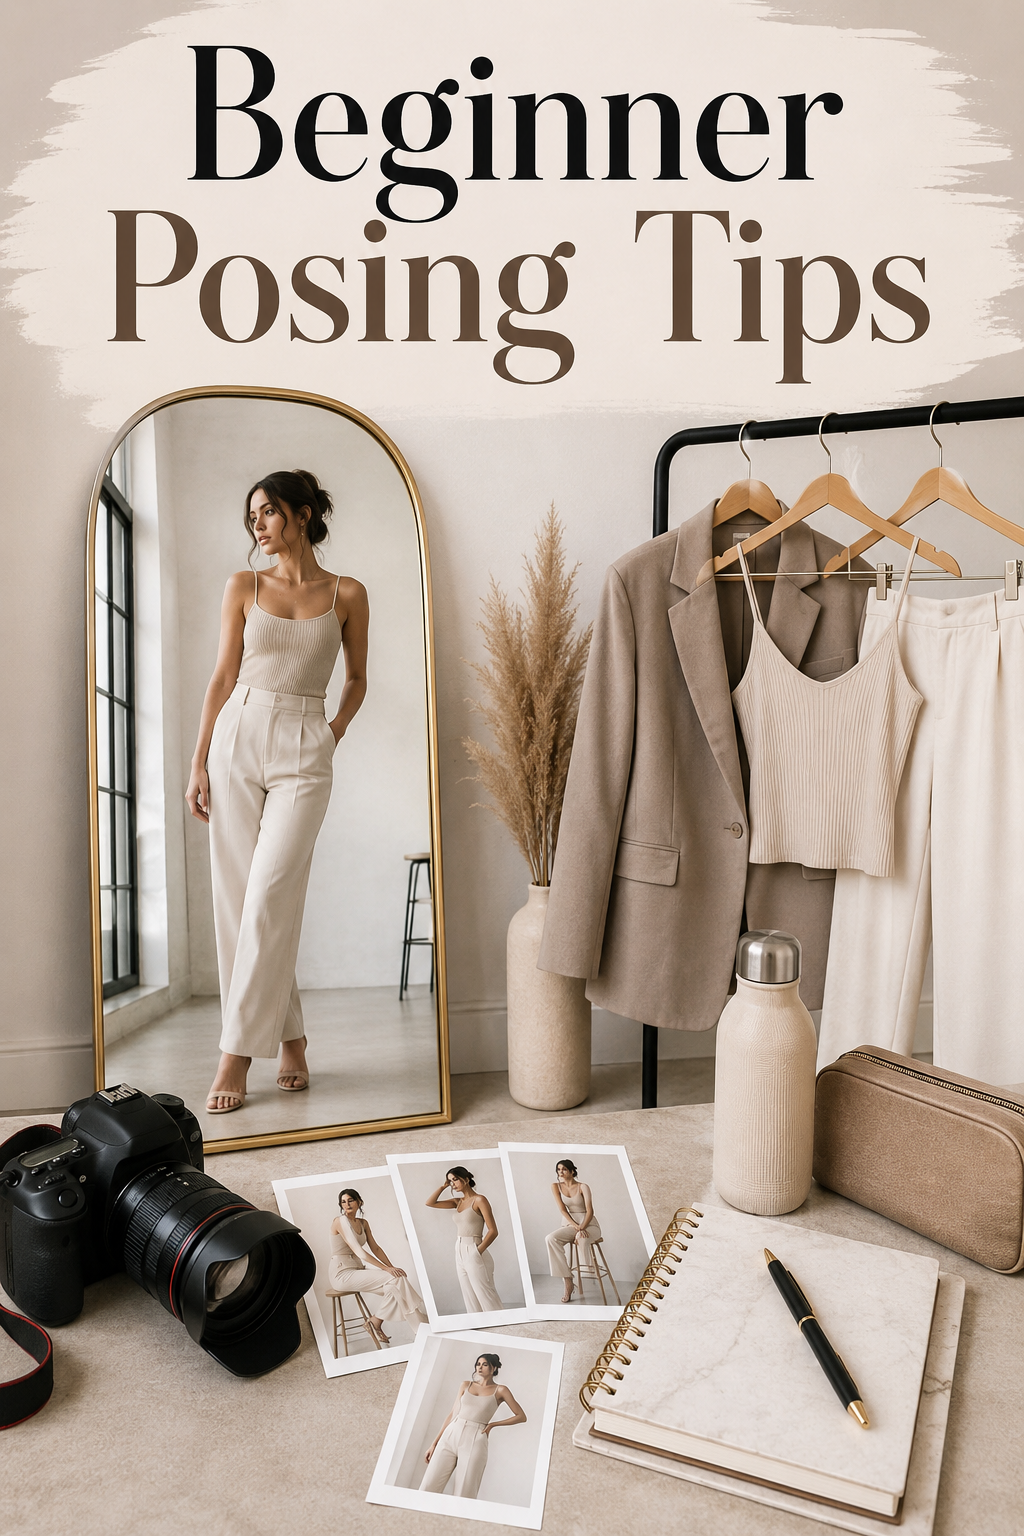
The night before your shoot, practice one standing pose, one seated pose, and one movement sequence in the mirror. Then try each one with the outfit you plan to wear. Notice whether the clothes move well, whether your hands have somewhere natural to go, and whether your shoes change your posture. This small practice session can make the first ten minutes of the shoot feel much less intimidating.
You can also save three inspiration photos that show posture, mood, or hand placement you like. Use them as a reference, not a rulebook. Your goal is to arrive with a few ideas, then let the photographer help shape them for the light, lens, and location.